
| The first Page of photographs of Chilcompton | |
 |
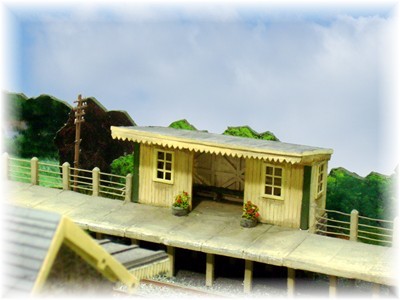 |
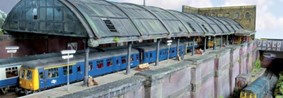
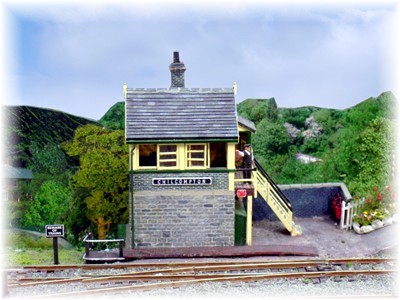
| Chilcompton Signal Box | Chilcompton Waiting Room viewed from the main Platform |
 |
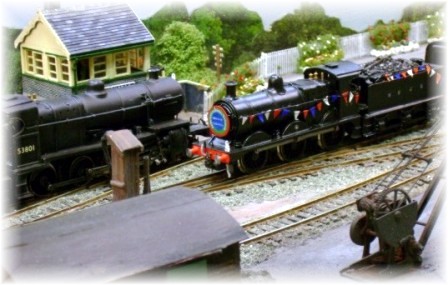 |
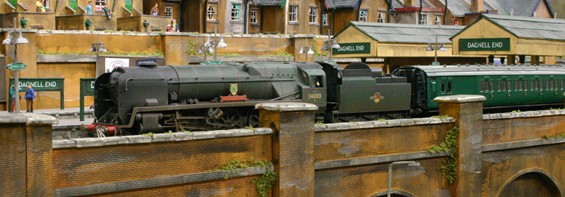
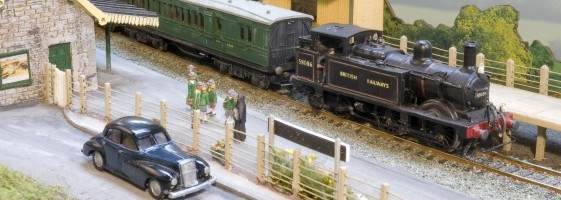
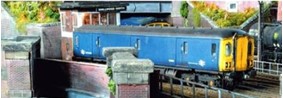
| Chilcompton Waiting Room viewed from the main Platform | Fowler 7F 53801 and a 3F on a passenger trains outside Chilcompton Signal Box |
 |
 |
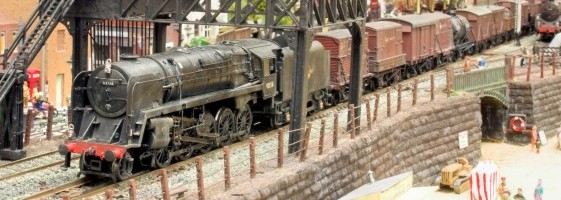
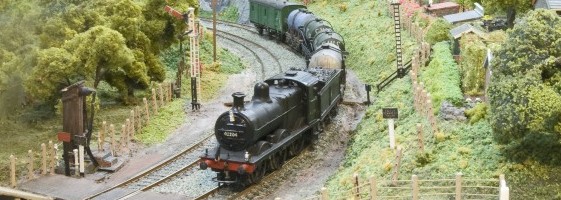
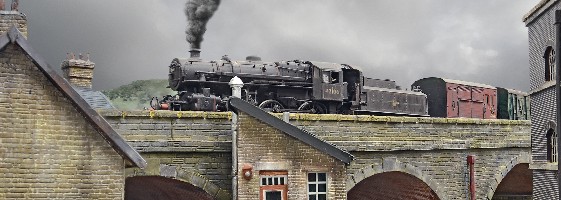
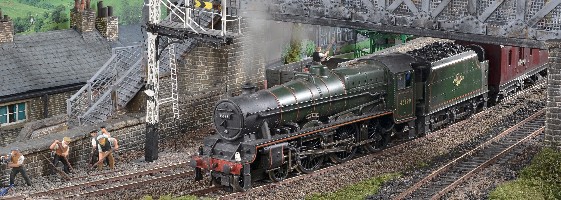
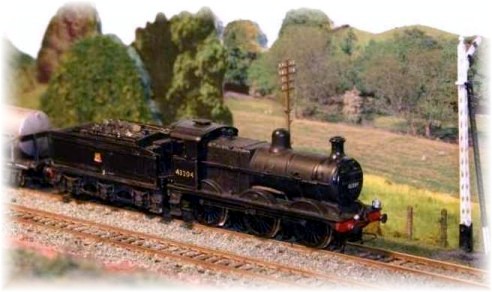
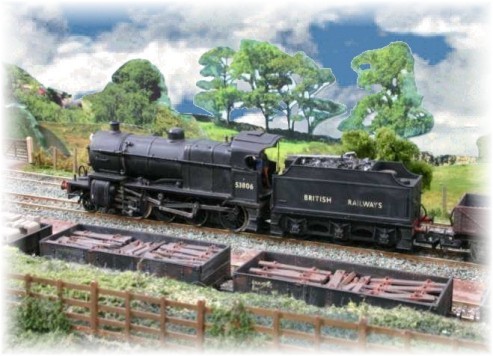
| Fowler 3F 43244 on a milk train | Fowler 7F 53808 passed by the Pines Express |
 |
 |
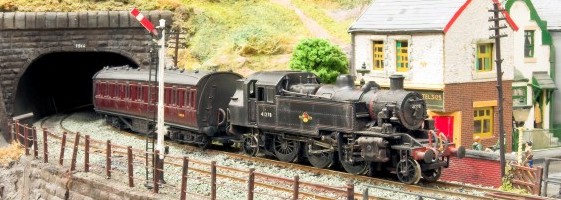
| Fowler 1P at Chilcompton | Fowler 3F at Chilcompton |
All Pictures are the copyright of Redditch Model Railway Club
![]() (for more pictures of Chilcompton)
(for more pictures of Chilcompton)